Quick Start
What you'll learn
- How to install Chaterm and sign in to your account
- How to add and connect to a remote host via SSH
- How to use AI-powered Command, and Agent modes
- How to run real-world tasks like system monitoring and log analysis
Step 1: Install and Sign In
Install Chaterm
Download the installer for your operating system. The button below auto-detects your platform.
Don't see your platform? Visit the Downloads page for all available packages.
Open the downloaded installer and follow the on-screen prompts to complete installation. Launch Chaterm once it is ready.
Sign In
Select one of the following sign-in methods:
- Email verification code -- Enter your email address, then enter the one-time code sent to your inbox.
- Username and password -- Enter your existing account credentials.
- Third-party login -- Click the Google, GitHub, or Apple ID button to authenticate.
First-time users
When you sign in with an email for the first time, Chaterm automatically creates a new account for you. No separate registration step is needed.
Skipping sign-in
You can click Skip to use Chaterm without an account, but the uilt-in AI model requires you to log in before you can use it.
Step 2: Add a Host
Open the host management panel and add your first remote server. Below is a summary of the key fields.
| Field | Description | Example |
|---|---|---|
| Label | A friendly name for this host | my-web-server |
| Host | IP address or hostname | 192.168.1.100 |
| Port | SSH port number | 22 |
| Username | SSH login user | root |
| Auth Method | Password or private key | Password |
For a full walkthrough with screenshots, see Add a Personal Host.
Connect to a Host
Click any host in the host list to establish an SSH connection. A new terminal tab opens automatically once the connection succeeds.
Step 3: Try AI Features
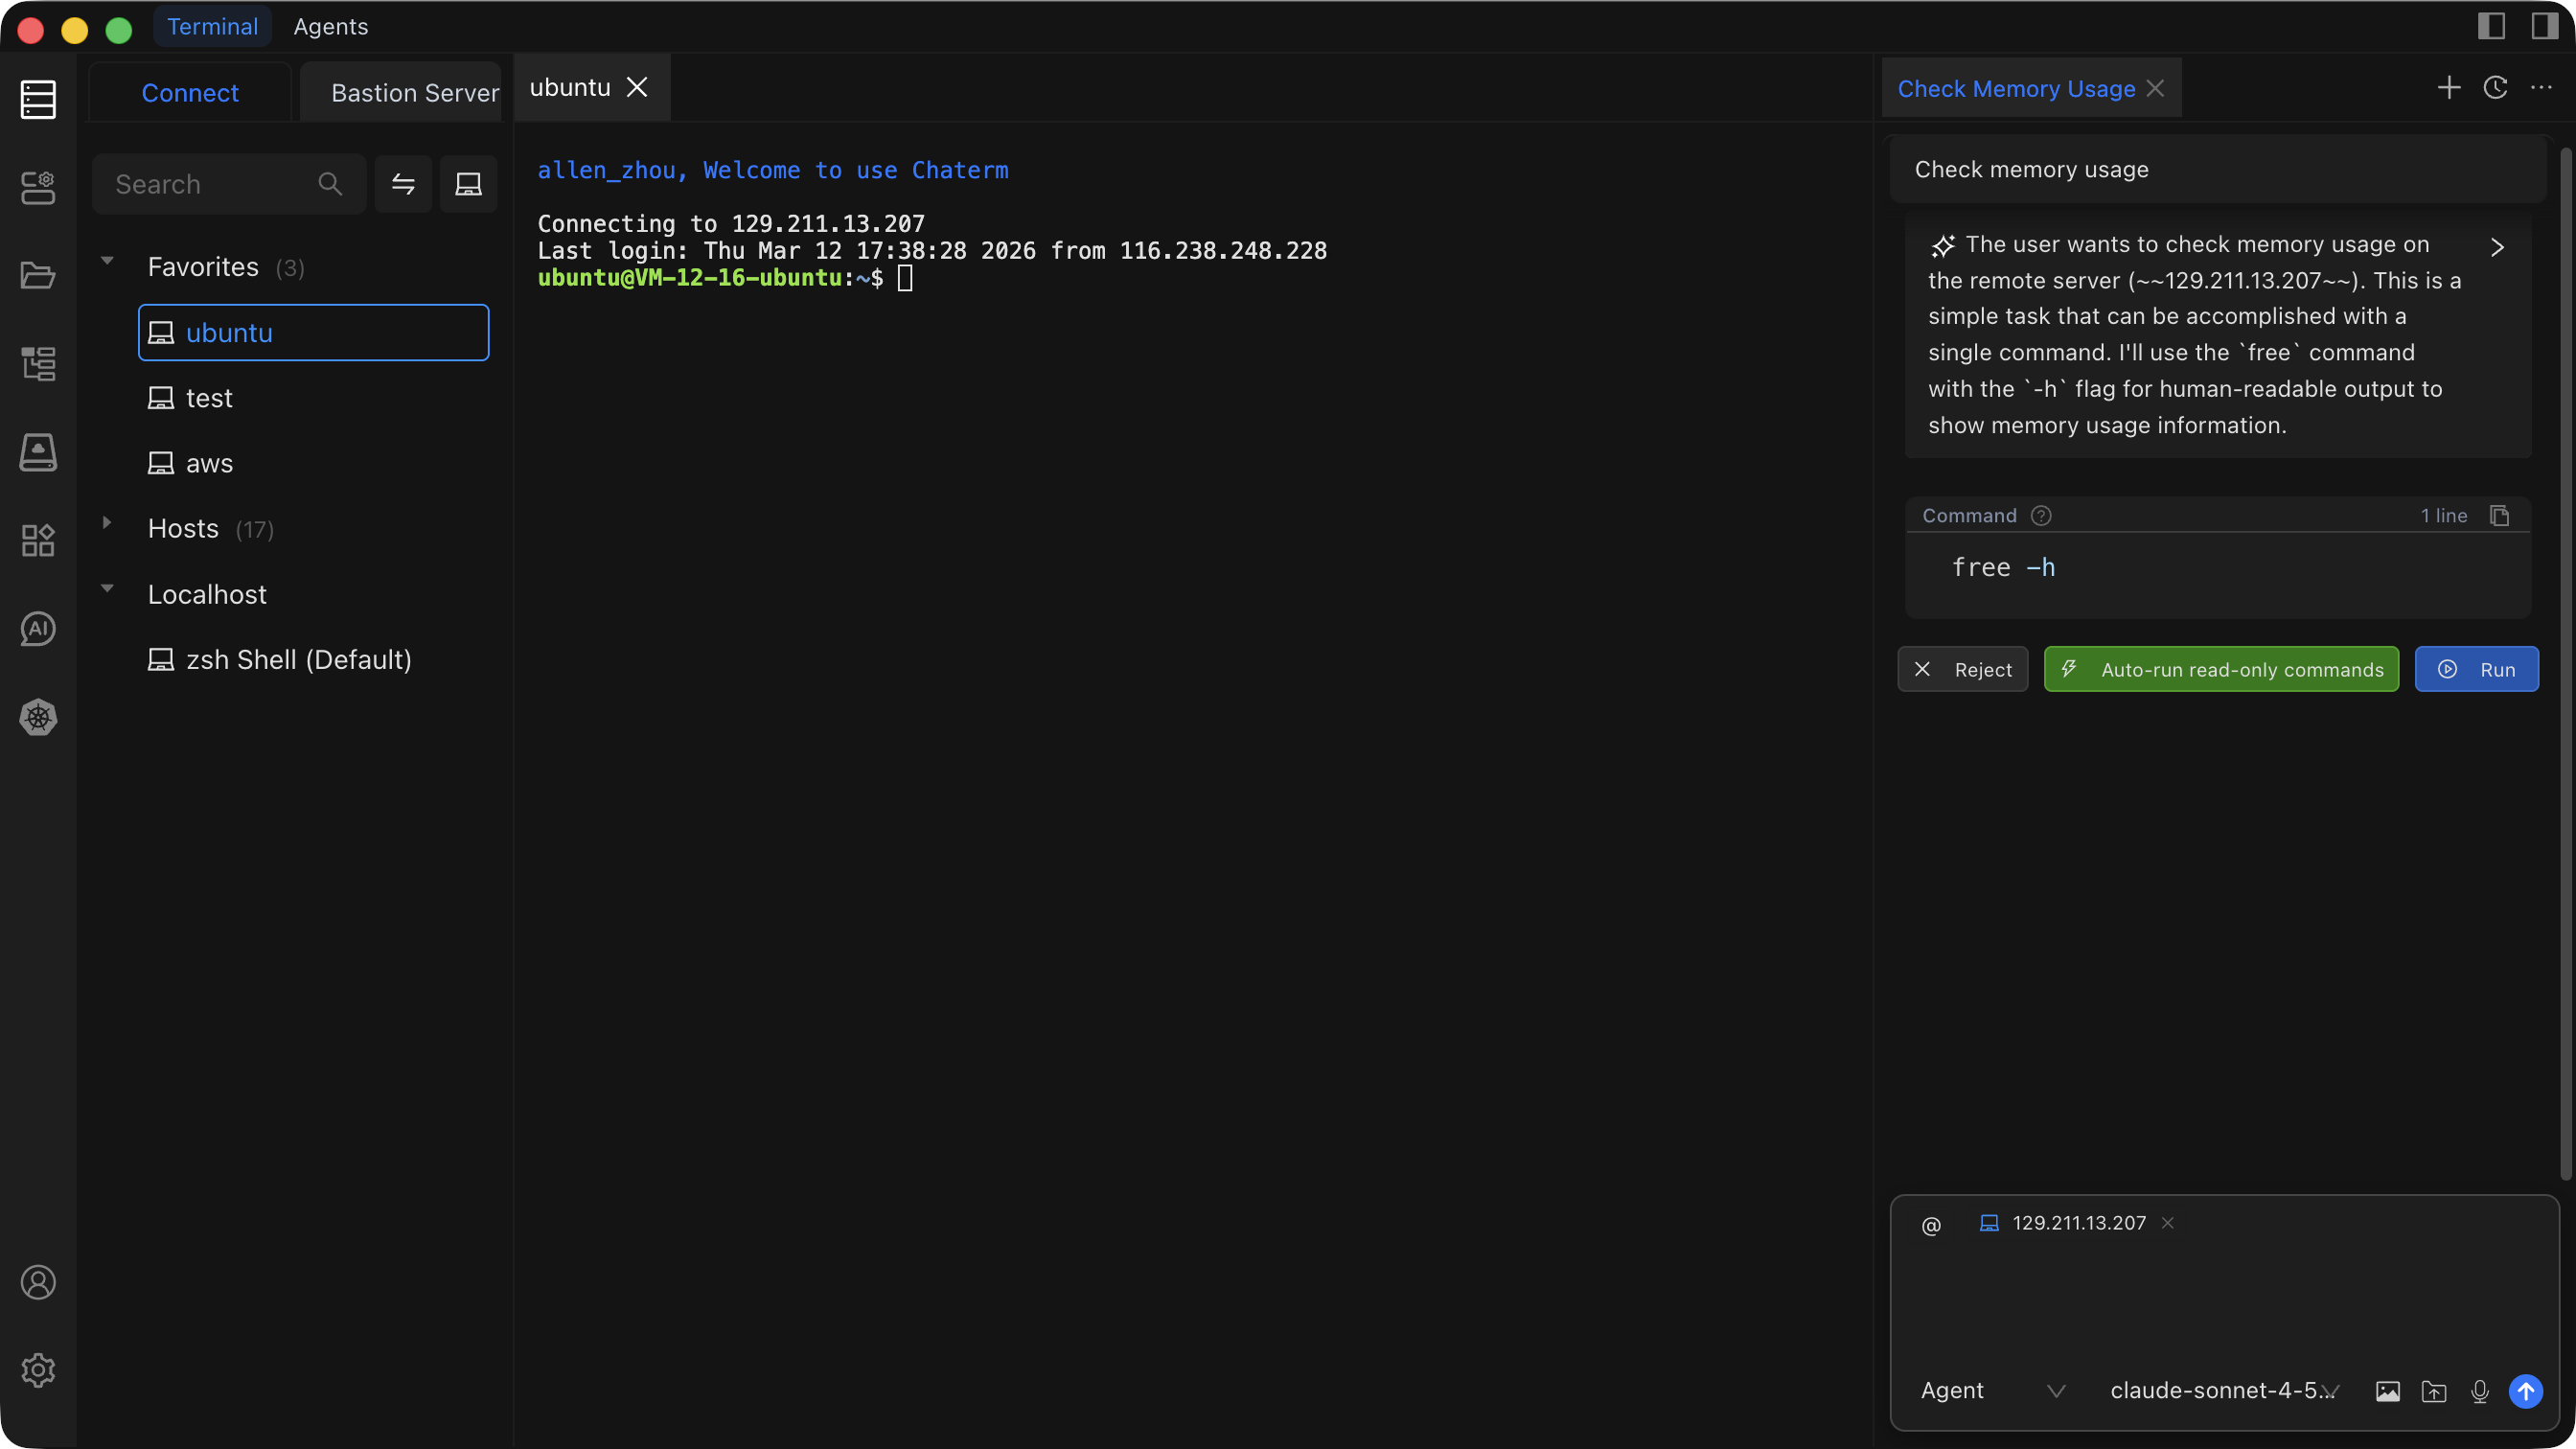
Open the AI Conversation Panel
Use either of these methods:
- Click the AI icon in the left sidebar.
- Press a keyboard shortcut in the terminal:
- macOS:
Cmd + L - Windows/Linux:
Ctrl + L
- macOS:
Choose an Interaction Mode
Click New Conversation, then select the mode that fits your task:
| Mode | When to use | Runs commands? |
|---|---|---|
| Command | Execute commands in the active terminal | Yes (current terminal) |
| Agent | Operate across one or more hosts | Yes (any host via @) |
Select a model from the model dropdown, then type your prompt and press Enter.
Use In-Terminal AI Shortcuts
While working inside a terminal session, you have two fast paths to AI:
Ctrl+K/Cmd+K-- Opens an inline prompt dialog. Type what you need and the AI generates a command.Ctrl+L/Cmd+L-- Opens the AI conversation panel with your current terminal context already attached.
Example with Ctrl+K
Press Cmd+K, type show disk usage sorted by size, and the AI returns:
du -sh /* 2>/dev/null | sort -rh | head -20Press Enter to execute it directly in your terminal.
Try It Now
Copy and paste these prompts into the AI conversation panel to see Chaterm in action.
Monitor system resources across hosts
@my-web-server Check CPU and memory usage. Flag anything above 80%.Expected output: The AI runs top, free -h, and similar commands, then summarizes resource usage with a clear warning for any metric that exceeds 80%.
Analyze recent error logs
@my-web-server Find ERROR lines in /var/log/syslog from the last 2 hours and group them by source.Expected output: The AI runs journalctl or grep with appropriate time filters, then presents a grouped summary of errors with counts and timestamps.
Clean up old temporary files
@my-web-server List all files in /tmp older than 7 days, show their total size, then delete them after confirmation.Expected output: The AI first runs find /tmp -mtime +7 to list matching files, shows you the list and total disk usage, then asks for your confirmation before executing the removal.
Always review before executing
In Command and Agent modes the AI can run real commands on your servers. Review each proposed command before confirming execution, especially for destructive operations like rm, drop, or truncate.
Next Steps
Now that you have Chaterm up and running, explore these areas to go deeper:
- AI Conversations -- Learn about conversation history, context management, and multi-turn workflows.
- AI Model Settings -- Configure which models to use and bring your own API keys.
- Host Management -- Organize hosts, set up bastion/jump servers, and import/export configurations.
- Terminal Operations -- Master split panes, tabs, snippets, and other terminal features.
- MCP Integration -- Extend Chaterm with Model Context Protocol tools and servers.
- Keyboard Shortcuts -- Customize keybindings for faster navigation.
- Billing and Plans -- Understand usage limits, upgrade options, and team plans.